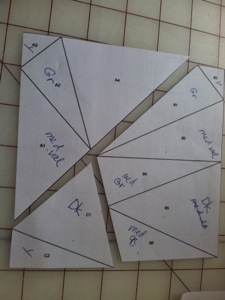
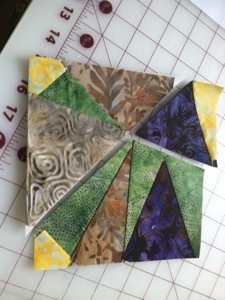
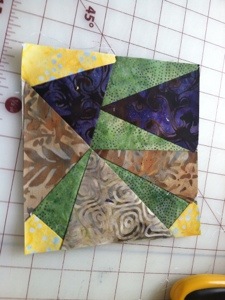
I have been playing in my Electric Quilt software designing a new paper piecing pattern. It looks complicated but mostly that’s due to flipping and rotating the blocks. It’s actually very easy, you do have to think in reverse though.Here’s the way it looks on paper.
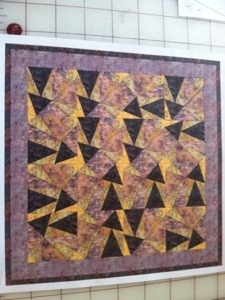
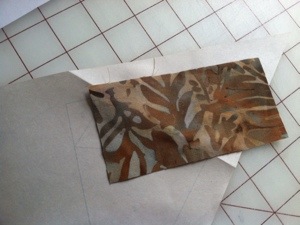
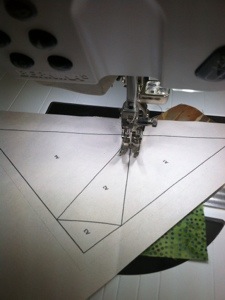
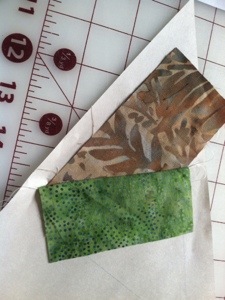
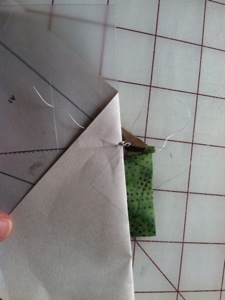
When you paper piece the most important thing is to make sure when you cut your fabrics you allow for extra and try to look at the fabric with the pattern through a light table or use a window.Then always stitch on the printed line.I love this method because of its accuracy.
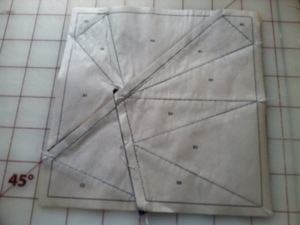
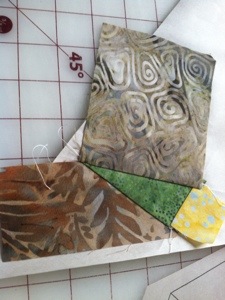
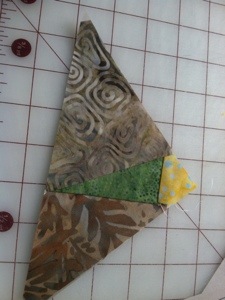
This particular pattern was subdivided into three sections. When you go to stitch the three subdivisions together it is very accurate. Points are never chopped off!
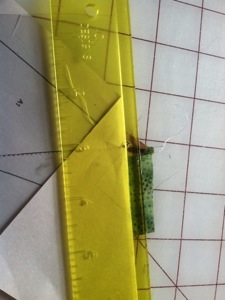
I use an Add a Quarter ruler which I really advise you to purchase if you are planning on doing a lot of this sort of piecing. I also recommend buying paper piecing papers, which are available through Carol Doak, C&T Publishing and I’m sure others. Ricky Tim’s sells paper that you don’t have to remove. When it’s washed it remains in the fabric as a scrim.
I hope you give it a try! It’s lots of fun and you can be very accurate, and can also make very small blocks using this method.
